Thai Red Curry

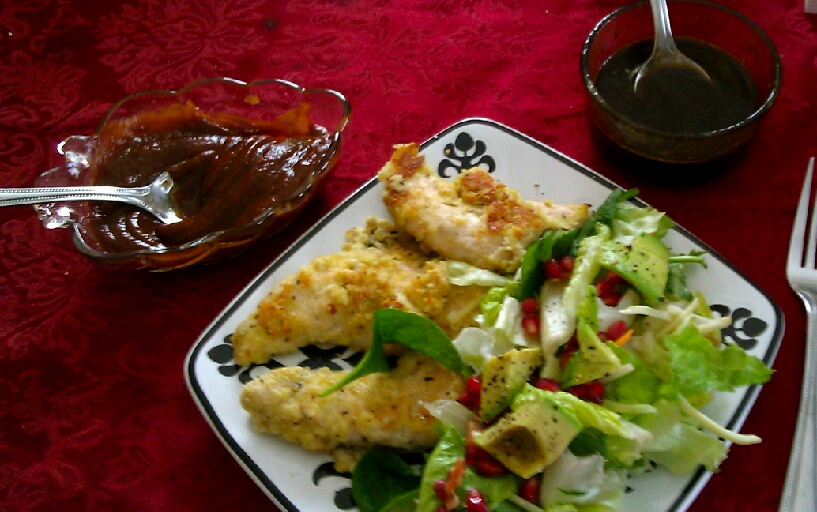
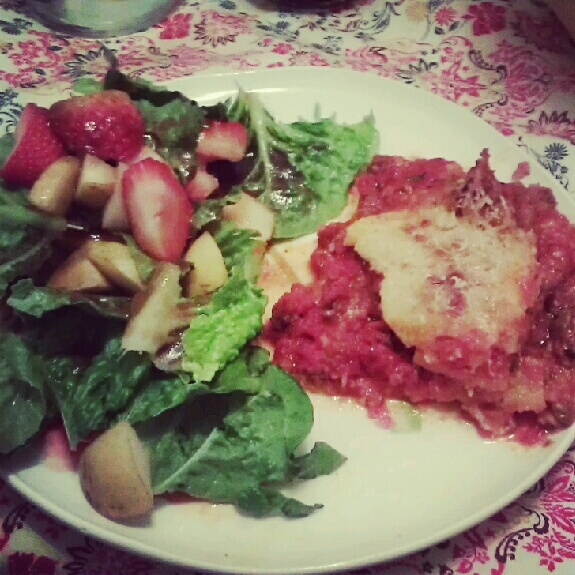
Without a lot of fuss, pomp, or circumstance, I have recently passed a large milestone in my personal history.  As of May 1st, I have been 1 year on the Specific Carbohydrates Diet.  I can’t believe it has been a full year.  I have been flare free now for nine months.  As short as it is, that is a victory for me.  In June, I start decreasing my medication intake to see if my body is ready to start relying fully on the diet.  For now, I am just so grateful to be well.  On May 2nd, I took my company’s annual wellness assessment.  For the first time in three years when asked “How would you rate your physical health?” I answered “Very Good”.

IMG_2163

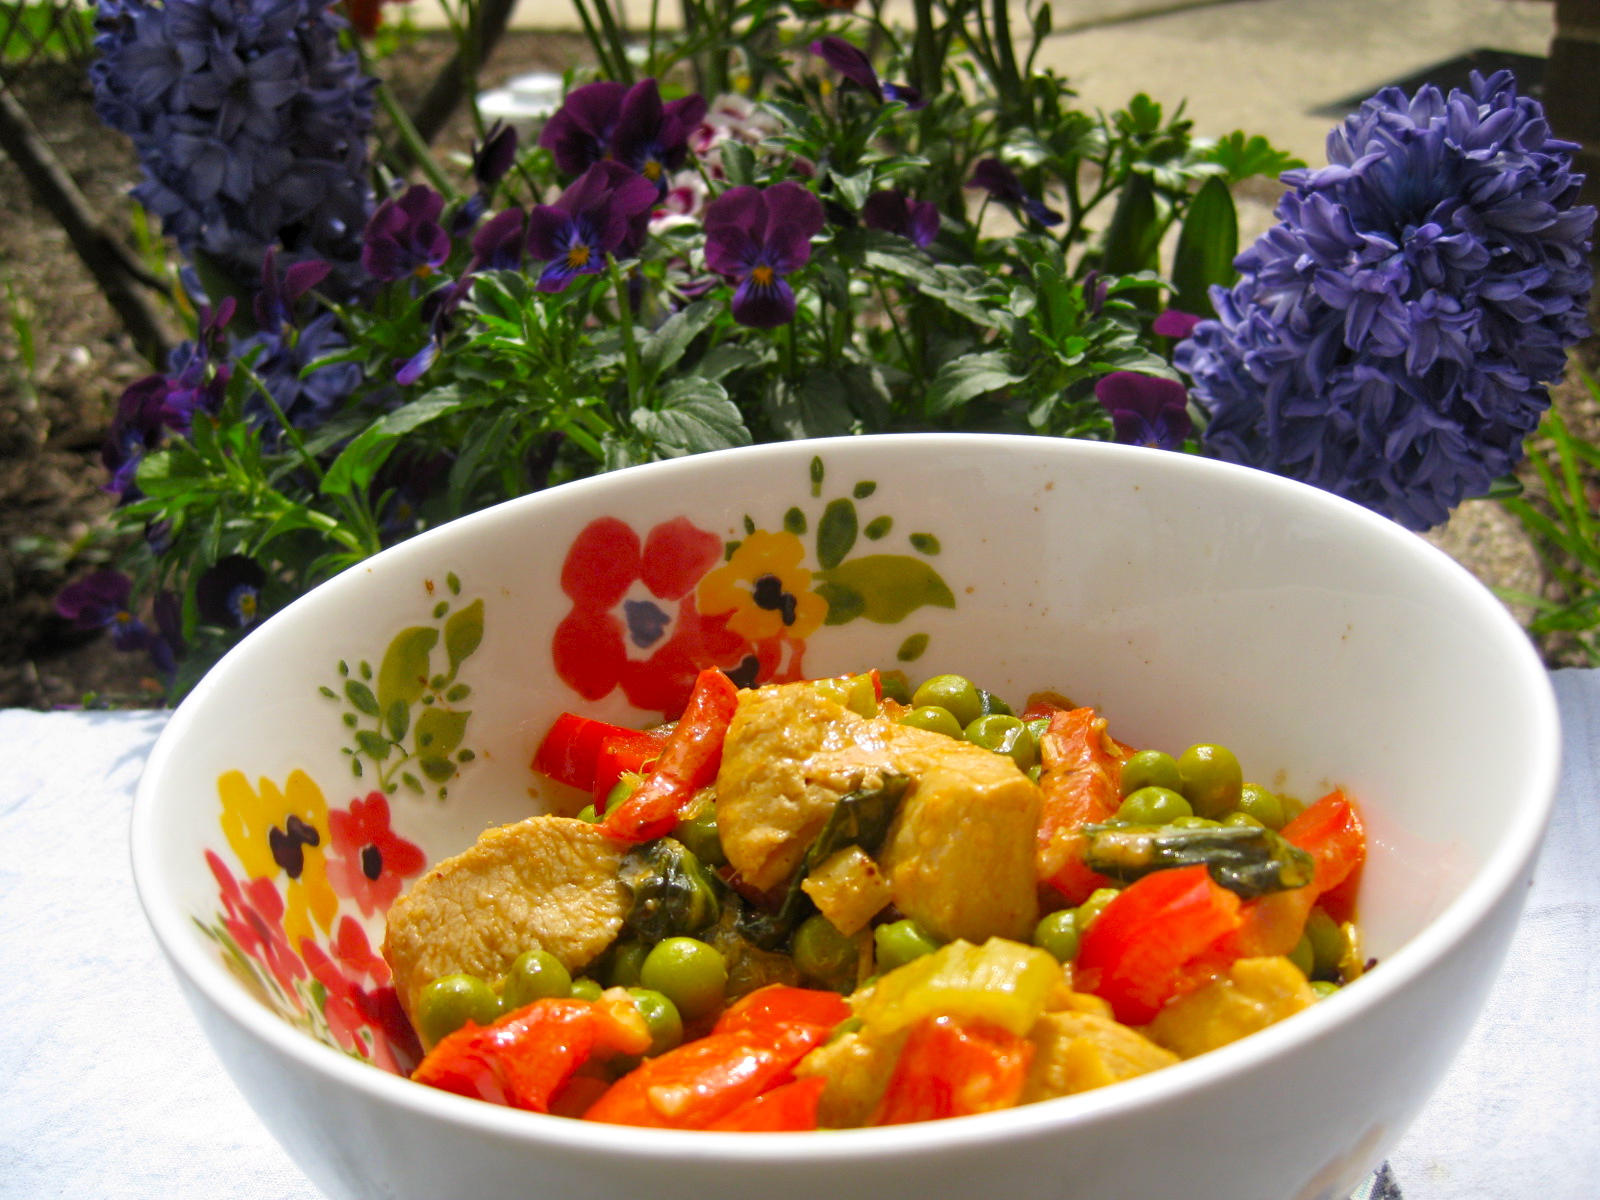
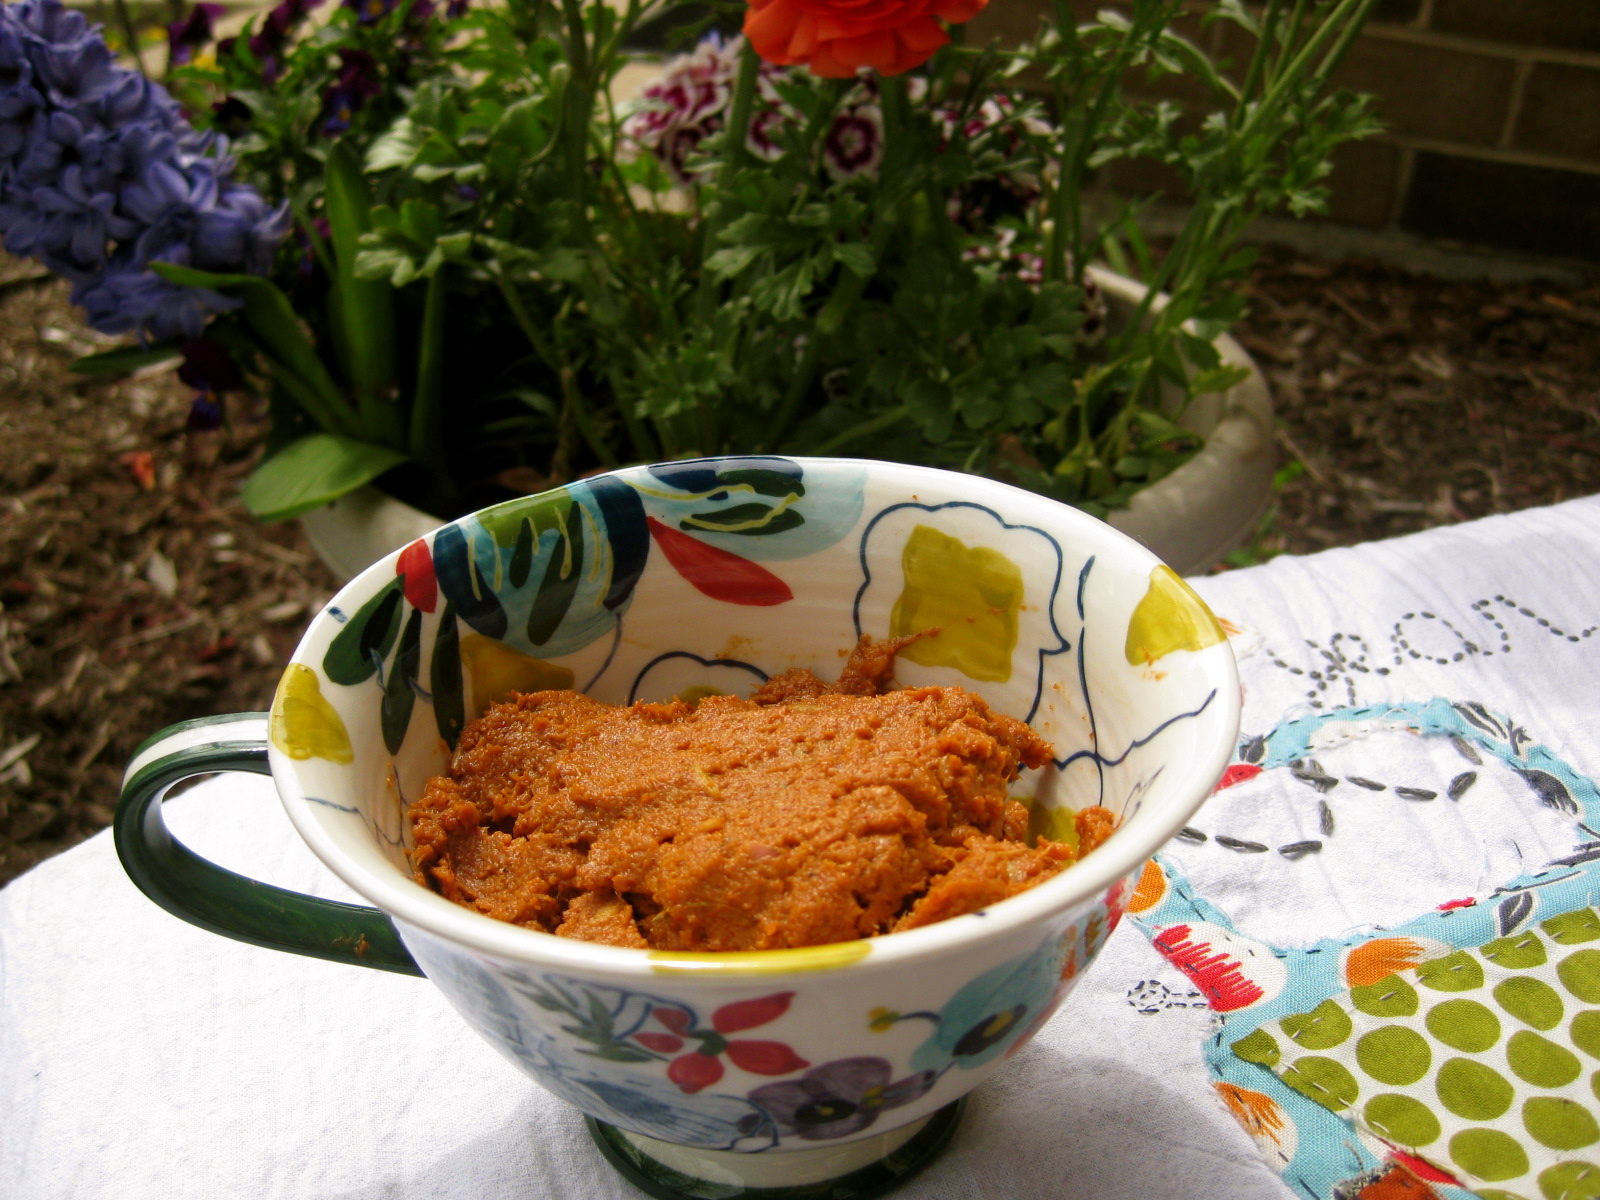
This recipe is for your traditional Thai Red Curry.  I was inspired by memories of nights in Chicago eating at Cozy Noodles, an eclectic Thai Restaurant on the north side.  I am elated at how it has evolved and turned out.  Creamy and sweet, with subtle heat and a plethora of vegetables.  I started out with a recipe from Eat Live Run but adapted it to fit the SCD diet.  The original recipe includes sweet potatoes, sugar and fish sauce.  I left out the sweet potatoes and fish sauce and substituted 1 TBS of honey for the sugar.  It was great!  We like to serve it over cauli-rice but it makes a nice soup as well.  I made the Thai curry paste from scratch and have included the recipe.  Enjoy!


Thai Curry Paste

Ingredients:

  • 1 shallot, chopped
  • 2 stalks lemongrass, minced
  • 1 and 1/2 tsp cayenne pepper
  • 4 cloves garlic
  • 1 thumb-size piece of ginger, peeled and chopped
  • 2 Tbsp. tomato puree
  • 1 tsp. ground cumin
  • 3/4 tsp. ground coriander
  • 1 TBS honey
  • 1+1/2 to 2 Tbsp. chili powder
  • 3 Tbsp. thick coconut milk, or just enough to keep the blades turning
  • 2 Tbsp. fresh-squeezed lime juice
  • 1/4 tsp. cinnamon
  • 1 TBS peanut oil

Directions:

  1. Put everything into the food processor and pulse until you have a paste consistency.  If you are like me and have a rather feeble processor, you may have to migrate to the blender to get the consistency you want.  Add coconut milk if the consistency is too thick.
  2. Now you are free to use it in your curry!  It makes about 9 TBS (enough for three curries).  I like to bag it up and put it in the freezer for further use.

IMG_2145

Advertisement

Little Dipper’s Homemade Barbeque Sauce

Success for the Little Dipper!


When I was little, I lived in a small rural farming town in southern Minnesota where my dad served as a pastor of a small United Methodist church.  My grandparents would come and visit us and on those occasions, we’d frequent one of the two restaurants in town.  More often or not, we’d opt for “Daniel’s” over “Burger King”.  It was on one such excursion to “Daniel’s” that I received one of my most enduring nicknames.  I couldn’t have been more than three.  I was sitting next to my Grandpa Marlowe when I noticed him place a large blob of ketchup on his plate.  Seeing my gaze, he responded by plopping a large dollop on mine as well.  Giving me a mischievous smile he said “Look, Alli, like this!”  With that he dipped his finger into the ketchup and licked it off.  I was spell bound.  And the rest is food dipping history.

Growing up, I dipped all of my food.  To a disgusting event.  When there wasn’t food to be dipped, I would eat the condiment with a spoon or by scooping it up with my fingers.  “Little Dipper” was a charitable term for what became an obsession.  Alli had to have her sauce!  Even as an adult I would ask for 3-4 BBQ packets- not one, my own ketchup bottle- not a small cup and covered everything I could think of with a thick layer of sweet and spicy goodness.

SCD was a rude awakening.  My second day after the intro diet, I tried to make BBQ and failed miserably.  I wasn’t deterred and have made at least 20 variations of BBQ over the past year.  While I may not have tried every SCD recipe out there, I have sampled a great deal of them to frustrating ends.

Enter the hero of the story.  He scales large buildings in a single bound.  He consumes large tombs of theology without falling asleep once.  He keeps his jokes about yoga to a minimum AND he likes cats better than dogs.  But even more significant than all of these virtues is the fact that he alone created the perfect SCD BBQ sauce.  Without Mike Niebauer, Little Dipper’s Homemade Barbeque Sauce would not exist.

He gave me the recipe and the first batch for Christmas this past year.  It is the perfect combination of sweet and savory with a little bit of kick.  Delicious and authentic tasting, I wouldn’t be able to tell it from commercial BBQ.  It is in fact, the perfect BBQ sauce.  Best of all, it’s incredibly simple to make!  Mike Niebauer, you got it goin’ on.

Little Dipper’s BBQ Sauce 

  • 1 Can of Organic Tomato Juice (32 oz each)

  • ¾ Cups Apple Cider Vinegar

  • 1 tsp. onion powder

  • 3 ¾  tsp. salt

  • ½  tsp. all spice

  • ½  tsp ground cloves

  • ½  tsp. cinnamon

  • ½  tsp. garlic powder

  • 1 bay leaf

  • 1 ½ Tlb. Yellow mustard

  • 1/8  tsp paprika

  • ¼ tsp ground cayenne pepper

  • Dash of chili powder

  • 1/3 cup honey

  • 1 ¾ tsp. liquid smoke (I use Wright’s, it’s SCD legal)

Directions:
1. Combine all ingredients, except for honey, liquid smoke in a large pot.
2. Simmer for 3-4 hours until very thick, stirring occasionally, more so as it thickens.
3. Turn off heat. Remove bay leaves.
4. Add liquid smoke. Stir well.
5. Transfer to a blender and puree well.

Paleo Chocolate Crepes Cake with Coconut Whipped Cream

IMG_2098

Today I awoke to a beautiful spring day.  The sun was shining through the cracks in my curtains and the temperature of my apartment didn’t make me want to curl up under the covers and go back to sleep.  It was fitting that this is the first day that feels like spring because it’s the day we celebrate new life through the resurrection and it’s the day I celebrate being alive!  Praise the Lord for these 26 years and for regaining a great deal of my health through eating SCD/Paleo for 11 months now.

IMG_2110


To celebrate, I decided to make a special cake.  A crepes cake.  A stack of thin, sweet, crepes layered with chocolate frosting.  I started with the recipe I use for savory crepes and added more honey.

Almond Flour Crepes: 

  • 1 cup almond flour
  • 10 eggs
  • 1/2 teaspoon salt
  • 2 tablespoons honey

I used coconut oil and a 10 inch skillet.  I mixed all the ingredients together.  I made sure the oil was really hot before pouring 1/4 cup batter into pan and cooked it for about 2 minutes on each side.  It made 10 crepes.

Next, I whipped up some chocolate frosting using the recipe I use for my chocolate cupcakes.

Chocolate Frosting:

  • 1/2 cup 100% cacao bar
  • ⅓ cup coconut oil
  • 1/3 cup honey
  • 1 tsp vanilla extract
  1. In a small saucepan over very low heat, melt chocolate, honey and coconut oil
  2. Stir in vanilla extract
  3. Place frosting in refrigerator for 15-30 minutes to thicken
  4. Remove from refrigerator and whip frosting until thick and fluffy
  5. Spread over crepes and stack them one on top of each other

Lastly, I cut up about 1 cup of strawberries to decorate the cake!

When I got ready to serve it, I used Danielle, from Against All Grain‘s recipe for coconut whipped cream.  The only thing I did differently was use Aroy-D coconut milk because I am still off of Guar Gum.

IMG_2101

The result was pretty incredible.  I shared it with our friend’s Griff and Brittani and we were all enthralled with the fluffy whipped cream contrasted against the firm french pastry taste of the cake.  And it photographed so pretty!  So pretty in fact that I tilted it too far down and dumped it on the floor!  Luckily I am the birthday girl so no one got after me.  🙂

IMG_2108

Eaten on hand-painted plates from the amazing Lauren Wilgus at The Handmaden, what a treat!  Happy Birthday to me!

IMG_2105

Pineapple and Prosciutto Pizza with Cauliflower Crust

SCD Legal  Hawaiian Pizza

SCD Legal Hawaiian Pizza

Game night is not game night without pizza.  For the past year, I have tried over ten different ways to recreate our past carb loving, cheese indulging, gut wrenching, no holds barred game night with very little success.  While our game closet continue to over-floweth with pretty much every Euro game (and expansion) out there, we usually opt for ordering Papa John’s for Mike and the guys while I eat something awesome.  Like a salad.

The problem with SCD legal pizzas is almost universally the crusts.  Almond flour is too dense, has the wrong texture and gets too soggy in the middle even if it is pre-baked.  A combo of different nut flours gives a dry, lifeless crust that tastes bland and biscuitty.  I honestly thought I just wouldn’t be able to enjoy pizza ever again.

Not any more!  I’ve also been reading about cauliflower crusts for the past year but been too skeptical to try it out.  Shame on my doubting heart, it is AWESOME!  This recipe is by no means terribly original as I’m sure it’s an amalgamation of other recipes but it is incredibly tasty, crunchy, and crusty.  Welcome to my version of Hawaiian pizza!

Ingredients (cauliflower crust):

  • 3 cups finely grated cauliflower (about 1 medium sized head)
  • 1 egg
  • 1 cup cheese (I used 1/2 adagio and 1/2 muenster)
  • 1/2 teaspoon onion powder
  • 1/2 teaspoon garlic powder
  • 1/4 teaspoon Italian blend (I mix evenly basil, thyme, sage and oregano)
  • 1/2 teaspoon salt

Ingredients (pizza filling):

  • 1/2 cup pizza sauce (I used SCD legal Lucini’s.  They carry it at Whole Foods)
  • 1 cup cheese (again, I used 1/2 adagio and 1/2 muenster)
  • 1 can pineapple (make sure they are SCD legal and canned in their own juice)
  • 6 strips of prosciutto (make sure to look at the ingredients as many contain illegals.  Trader Joe’s carries a legal type)

Instructions:

    1. After washing the cauliflower, use a hand grater to grate three cups of cauliflower into an oven safe bowl.  You could use a food processor but I find that it makes the cauliflower “wetter”.
    2. Pre-heat the over to 450 degrees and put the cauliflower in until it is tender but not mushy (about 5-7 minutes once oven is warm).  You could use a microwave for this but I think microwaves are weird so…
    3. Take cauliflower out and combine all ingredients in the bowl until well mixed.  Grab a pizza pan and spread out your parchment paper.
    4. Scoop your cauliflower mix onto the parchment lined pizza pan.  At this point, don’t expect it to feel like dough.  It won’t really be sticking together enough for you to form it into a ball and that’s ok!  Using your hands, fashion it into a circle on the parchment paper so that it looks like a pizza crust.
    5. Pop it into the over for 15-17 minutes until the crust is golden brown.
    6. Remove it from the oven and spread pizza sauce and the rest of the ingredients over the pizza.

Turn the oven up to broil and put the pizza in for 3-4 minutes until the cheese is bubbling.  Remove and serve right away

Before the oven

Before the oven

After the oven

After the oven

Before the cheese

Before the cheese

After the cheese

After the cheese


It turned out delicious.  Both Mike, Kara and I thought that if you didn’t know it was cauliflower, you wouldn’t have been able to tell!


Happy gaming and happy pizza night!

Surviving February: Slow Cooker Pineapple and Chili Pulled Pork

February is hands down, the worst month of the year for mid-westerners.  It manages to simultaneously never end and speed by, giving the poor chump stuck in a mid-west induced haze of flu, stress, and blizzards, the feeling of slow motion whip lash.  You know it’s happening, but you can’t do anything about it.  Mid-westerners, we are the true survivors.

IMG_2081

Fortunately, February also gives me this frenzied craving for all things tropical.  I window shop for dresses without sleeves and blush inducing lengths.  At work, I keep my sanity while holding on the phone by clicking on EVERY SINGLE travel “get-away” package that I see.  And I make a series of tropical inspired dishes that give me the illusory feeling of controlling my own destiny.  Maybe if I eat enough pineapple. I too will win Travelocity’s “Romantic Caribbean Get-Away” sweepstakes.

It hasn’t happened.  But March is here.  It’s sunny today and I am happy to post pictures of mouthwatering Caribbean spiced pork turned mid-western by virtue of the crock-pot.  I snagged the recipe off of paleopot.com and was glad I did.  The sweetness of the pineapple and the heat from the chilies made me ignore the blizzard outside.  I was so absorbed in the meal I didn’t even notice the snow plow, dutifully stacking snow around my little Vibe, making it impossible to leave.

Maybe getting stuck inside isn't such a bad thing after all...

Maybe getting stuck inside isn’t such a bad thing after all…

Butternut Squash Lasagna

Butternut squash lasagna isn’t terribly original.  In fact I’m pretty sure I’ve seen Rachel Ray do it, which means I usually pass but in this case I decided I’d give it a go.  Every gluten-free, paleo, low-carb blogger seems to have their own recipe.  I wanted to try and incorporate some signature “SCD” foods into mine, such as my homemade goat milk yogurt and favorite store bought (but still SCD legal) marinara.

I was really happy with the result!  It was hearty and the squash “noodles” held up very well.  Mike and I both agreed that similar to pasta lasagna, it actually tasted better re-heated!  I’ll definitely be making this again soon!

Butternut Squash Lasagna

Butternut Squash Lasagna

Butternut Squash Lasagna– cook in 10.5 by 7.5 inch pan

 Ingredients:

  • 1 medium butternut squash (Try to get one with a long “neck”)
  • ½ cup SCD Yogurt (Goat milk yogurt is my favorite for this recipe)
  • ½ lb. ground beef
  • 2 cups shredded cheese (I like havarti, aged cheddar, and goat cheddar)
  • 1 TBS basil
  • 2 tsp oregano
  • 2 tsp thyme
  • 2 tsp garlic powder
  • 1 tsp onion powder
  • ¾ tsp salt
  • ½ tsp ground black pepper
  • ¼ tsp chili powder
  • 2 cups SCD legal marinara sauce (I use Lucini)
  • 2 TBS coconut oil

 Instructions:

    1. Pre-heat oven to 400 degrees.  Place squash in oven for 10 minutes to soften before removing.  Continue to heat oven.
    2. Mix together all spices.  This will make about 4 TBS of spice.
    3. Combine ground beef with 1 TBS of spice mixture.  Mix well, using hand to combine if necessary.
    4. Heat 1 TBS of coconut oil in a 10-inch skillet.  When hot, add ground beef and brown, stirring to prevent burning.  Decrease heat to medium to avoid burning if necessary.  Once it has finished cooking, drain oil and fat.  Keep warm.
    5. Remove squash from oven.  Use mandolin to slice squash into long pieces, approximately ¼ inch thick and 4-5 inches long.  If you don’t have a mandolin slicer, use knife to slice thinly.  You will need enough slices to create 3 layers of “pasta”.  How many slices you need will vary, depending on the size of your squash.
    6. Use the second TBS of coconut oil to coat the bottom of your pan, so that the first layer of “pasta” does not stick to the bottom.
    7. Assemble your lasagna!
      • First a layer of butternut squash
      • Next, spread a thin layer of yogurt followed by a layer of cheese
      • Sprinkle 2 tsp of your spice mixture
      • Add a portion of the ground beef
      • Top with about ¾ cup marinara
      • Repeat!
      • After you have three layers of squash, conclude with adding a final layer of cheese after the marinara
    8. Bake in oven at 400 degrees for 35-40 minutes.  Serve while hot or refrigerate and re-heat.  The advantage of refrigerating and reheating is the squash will have absorbed more of the marinara, making it less saucy and more like lasagna.  Delicious either way!


Indian fried “rice” with Chicken Coconut Curry

At least two times a week I am surrounded by the delicious, pungent and seductive smells of Indian spices.  As a medical social worker at a refugee resettlement agency, I work with a lot of Bhutanese clients.  These are the Lhotshampa people, ethnically Nepali people who were forced out of Bhutan and have lived for over 20 years in refugee camps in Nepal.  I just love working with them.  They bring with them an incredibly tight knit community, amazing hospitality, great work ethic and amazing cooking (among other things).  A couple of times a week I will go to do a home visit and spend an hour or so inhaling the most incredible smells of their cooking.  They share a lot of the spices I commonly associate with Indian cooking.  B.C (before Crohn’s), I ate my weight in Nepali food– huge mounds of white jasmine rice,  Aloo Achar (potato salad) and lentil curries.  So delicious!  Now I have to refuse the hospitality of my hosts using my limited Nepali to explain that I’m so sorry (mauf garnus) but I have food allergies!  Explaining the SCD bacteria theory is a little beyond me for now.

A post by Jenni from Urban Poser on Indian “fried” rice made me think about trying to recreate a basic Nepali curry recipe.  I followed her instructions for making the rice pretty closely.  More Nepali delicacies to follow but for now, try this out!  Make sure to look at Jenni’s original recipe as well.  Her photos are out of this world!

Indian “Fried” Rice:

  • 1 medium head cauliflower
  • 3 tsp coconut oil
  • 1/2 medium yellow onion, finely chopped
  • 1 serrano chili, finely chopped
  • 1 medium sized carrot, chopped in small pieces
  • 1 cup peas
  • 1 tsp cumin
  • 1 tsp whole yellow mustard seed
  • 1/4 tsp nutmeg
  • 1/2 tsp corriander
  • 1/8 tsp chili powder
  • 1.5 tsp salt
  • 1/2 tsp ground pepper
  • 1 tsp honey
  • 2 TBSP cilantro, finely chopped
  • 1/2 lime, squeezed

Instructions:

  1. Wash and chop cauliflower and put it in food processor.  Pulse until it resembles rice.  See Jenni’s recipe for recommendations on hand grating.
  2. Heat 1 TBSP of coconut oil in 10 inch skillet.  Once it’s hot, put a layer of the pulsed cauliflower over the oil.  Watch it carefully and scrape to keep from burning.  When it starts to brown and almost burn, remove from heat and put on the next layer, adding coconut oil as needed.  Keep warm.
  3. Once finished, add 1 TBSP of coconut oil.  Once hot, add carrots and serrano chili.  After 2 minutes, add chopped onion.  Stir to keep from burning.  After 5 minutes, add peas and lower heat.  Add the “rice” back in.
  4. Mix all the spices together and stir.  Once well combined, add to the hot “rice” mixture and stir in 1 tsp honey.
  5. Finish with 2 TBSP of cilantro and squeeze lime over it.
Indian fried "rice"

Indian fried “rice”

Coconut Chicken Curry:

  • 1lb boneless skinless chicken breast
  • 3/4 tsp salt
  • 1/4 tsp black pepper
  • 2 medium carrots
  • 1/2 medium onion
  • 3 peppers (I use 1 yellow and 2 smaller red)
  • 2 tsp curry powder*
  • 1/2 cup golden raisins
  • 1 can coconut milk (Make sure it is SCD legal.  I use Aroy-D, Trader Joe’s or Natural Valley)
  • 2 tbsp cilantro (or more!)

Instructions:

  1. Cut chicken into 1 in pieces.
  2. Combine salt and pepper.
  3. Coat chicken in 1/2 of it.
  4. Cook chicken in skillet with coconut oil.  Set chicken aside.
  5. Add more oil to skillet and saute carrots, peppers, and onion for 5 minutes or until tender crisp, stirring occasionally.
  6. Stir curry powder, raisins, coconut milk, and remaining salt/pepper mixture and add to skillet.
  7. Add chicken and simmer for 3-5 minutes or until sauce begins to thicken.
Simmer for a few minutes to thicken

Simmer for a few minutes to thicken

*Curry powders can very from company to company.  Make sure that you know all of the ingredients in yours!  I recommend Penzey’s or The Spice Hunter.

Serve while hot!  The cauliflower rice will absorb the coconut milk so don’t combine, rather pour over to keep the rice texture.  Dari Ramro (so good)!

IMG_2034