SCD Legal Hawaiian Pizza
Game night is not game night without pizza. For the past year, I have tried over ten different ways to recreate our past carb loving, cheese indulging, gut wrenching, no holds barred game night with very little success. While our game closet continue to over-floweth with pretty much every Euro game (and expansion) out there, we usually opt for ordering Papa John’s for Mike and the guys while I eat something awesome. Like a salad.
The problem with SCD legal pizzas is almost universally the crusts. Almond flour is too dense, has the wrong texture and gets too soggy in the middle even if it is pre-baked. A combo of different nut flours gives a dry, lifeless crust that tastes bland and biscuitty. I honestly thought I just wouldn’t be able to enjoy pizza ever again.
Not any more! I’ve also been reading about cauliflower crusts for the past year but been too skeptical to try it out. Shame on my doubting heart, it is AWESOME! This recipe is by no means terribly original as I’m sure it’s an amalgamation of other recipes but it is incredibly tasty, crunchy, and crusty. Welcome to my version of Hawaiian pizza!
Ingredients (cauliflower crust):
- 3 cups finely grated cauliflower (about 1 medium sized head)
- 1 egg
- 1 cup cheese (I used 1/2 adagio and 1/2 muenster)
- 1/2 teaspoon onion powder
- 1/2 teaspoon garlic powder
- 1/4 teaspoon Italian blend (I mix evenly basil, thyme, sage and oregano)
- 1/2 teaspoon salt
Ingredients (pizza filling):
- 1/2 cup pizza sauce (I used SCD legal Lucini’s. They carry it at Whole Foods)
- 1 cup cheese (again, I used 1/2 adagio and 1/2 muenster)
- 1 can pineapple (make sure they are SCD legal and canned in their own juice)
- 6 strips of prosciutto (make sure to look at the ingredients as many contain illegals. Trader Joe’s carries a legal type)
Instructions:
- After washing the cauliflower, use a hand grater to grate three cups of cauliflower into an oven safe bowl. You could use a food processor but I find that it makes the cauliflower “wetter”.
- Pre-heat the over to 450 degrees and put the cauliflower in until it is tender but not mushy (about 5-7 minutes once oven is warm). You could use a microwave for this but I think microwaves are weird so…
- Take cauliflower out and combine all ingredients in the bowl until well mixed. Grab a pizza pan and spread out your parchment paper.
- Scoop your cauliflower mix onto the parchment lined pizza pan. At this point, don’t expect it to feel like dough. It won’t really be sticking together enough for you to form it into a ball and that’s ok! Using your hands, fashion it into a circle on the parchment paper so that it looks like a pizza crust.
- Pop it into the over for 15-17 minutes until the crust is golden brown.
- Remove it from the oven and spread pizza sauce and the rest of the ingredients over the pizza.
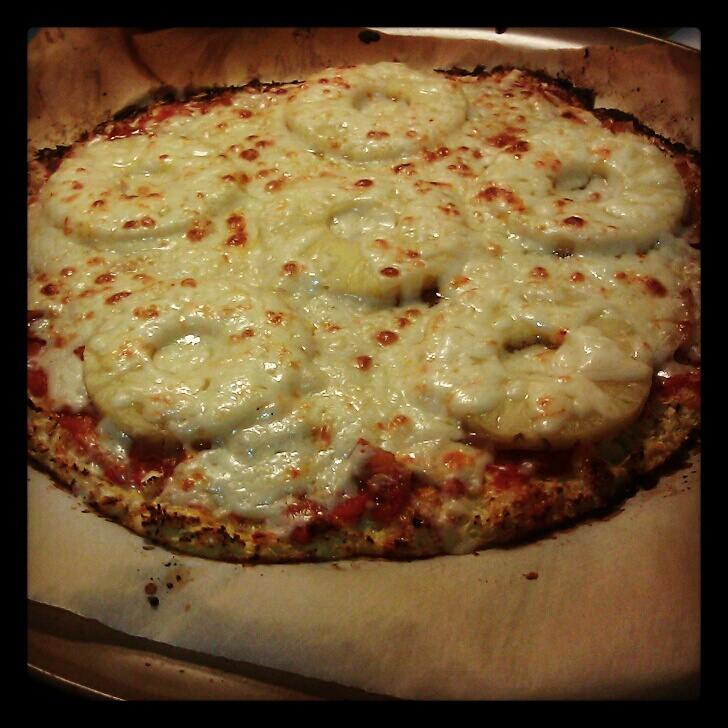
Turn the oven up to broil and put the pizza in for 3-4 minutes until the cheese is bubbling. Remove and serve right away
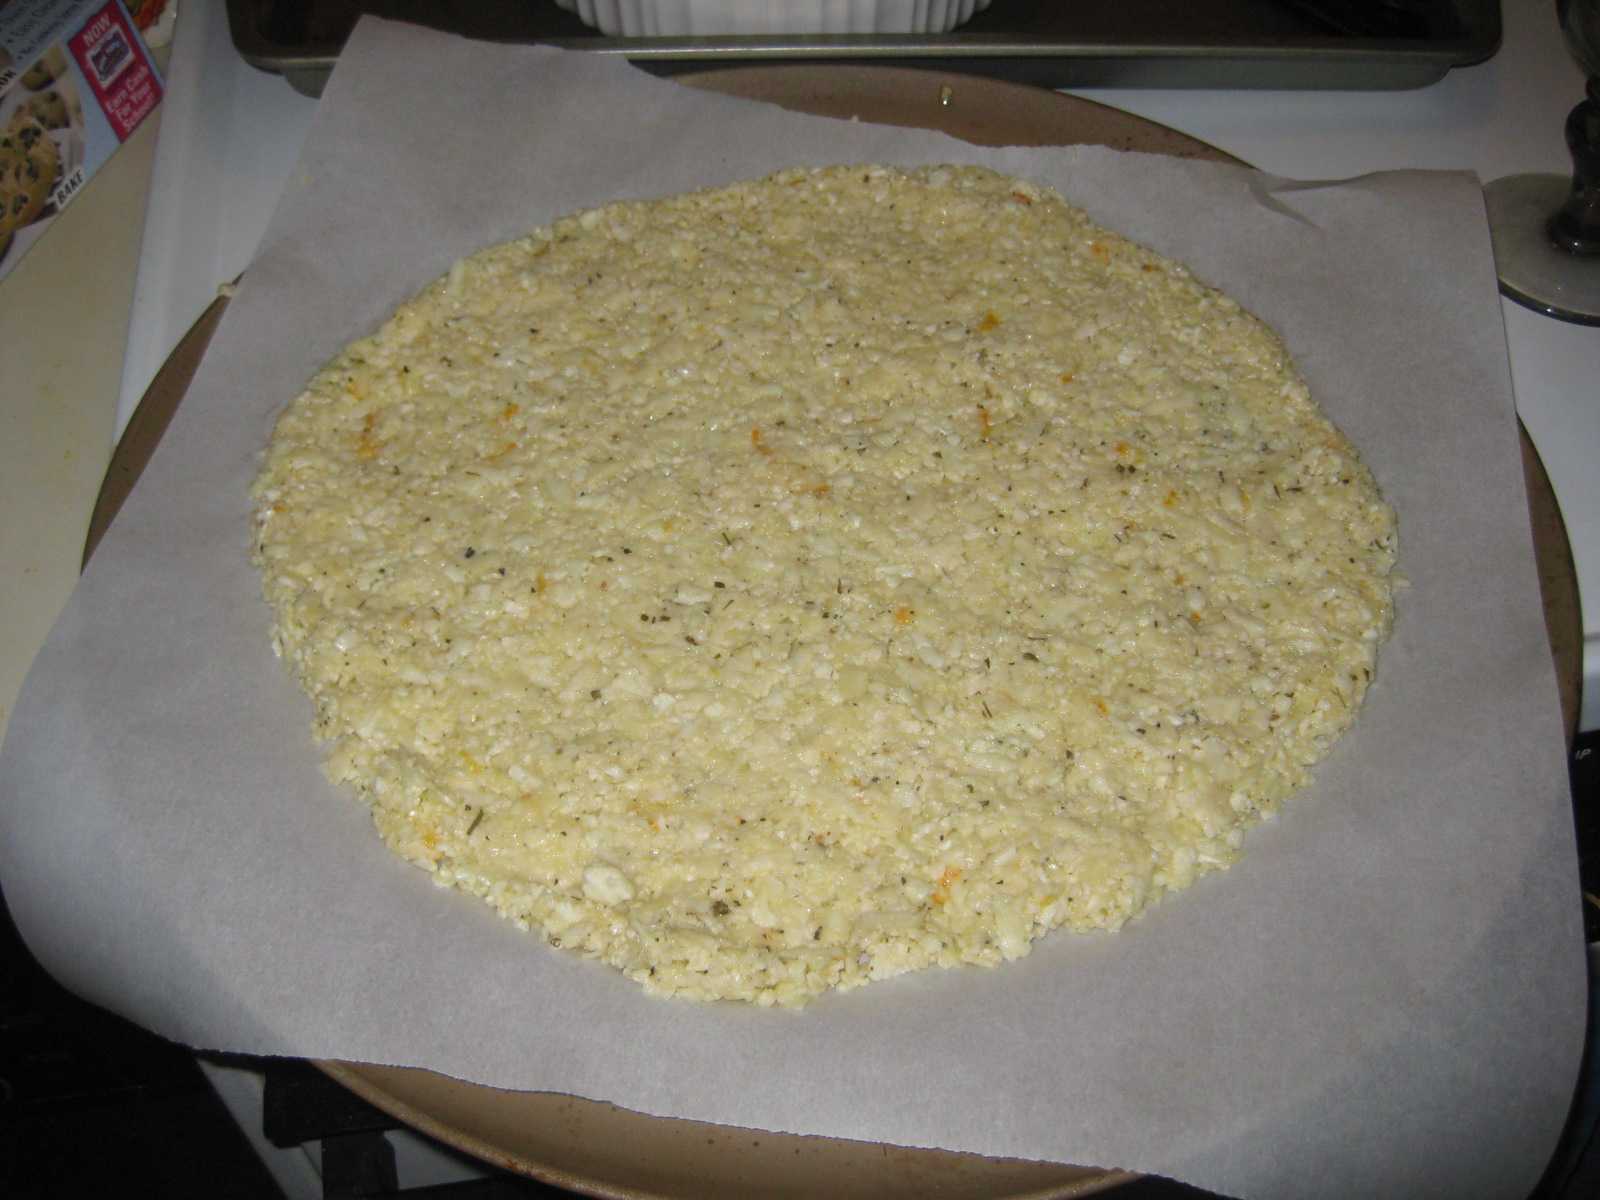
Before the oven
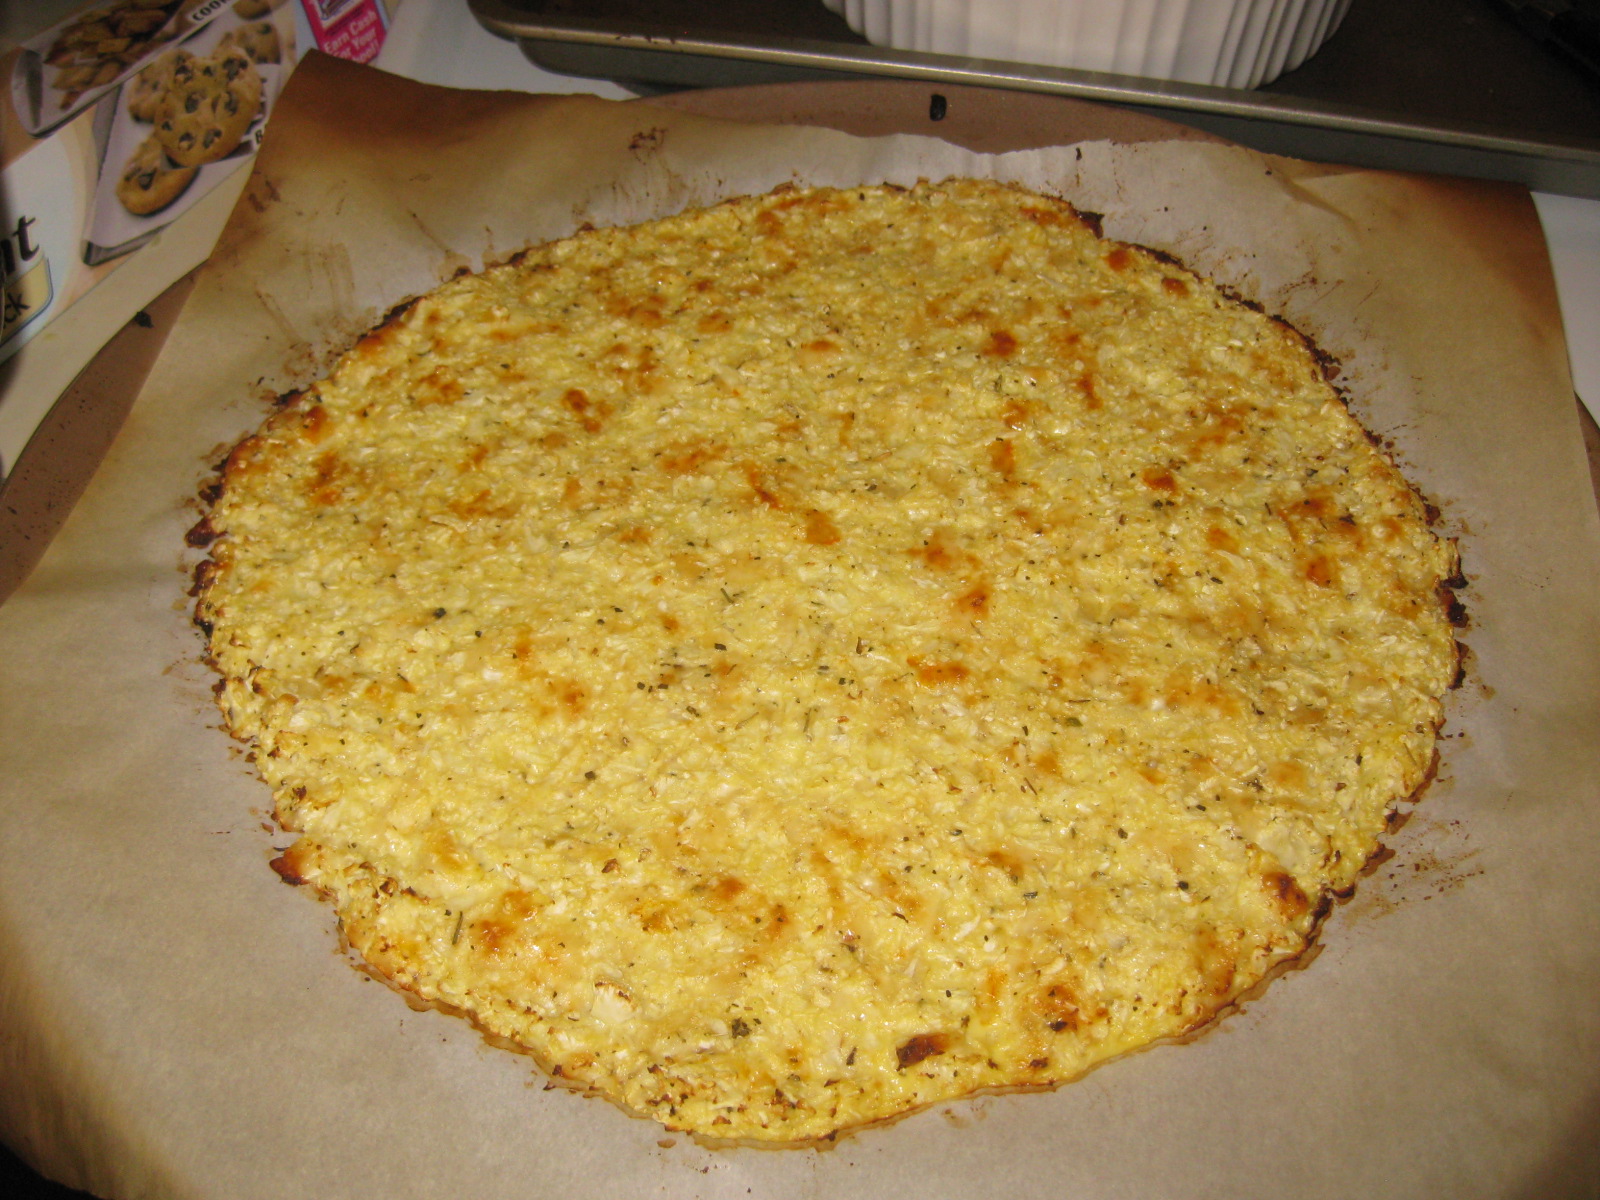
After the oven
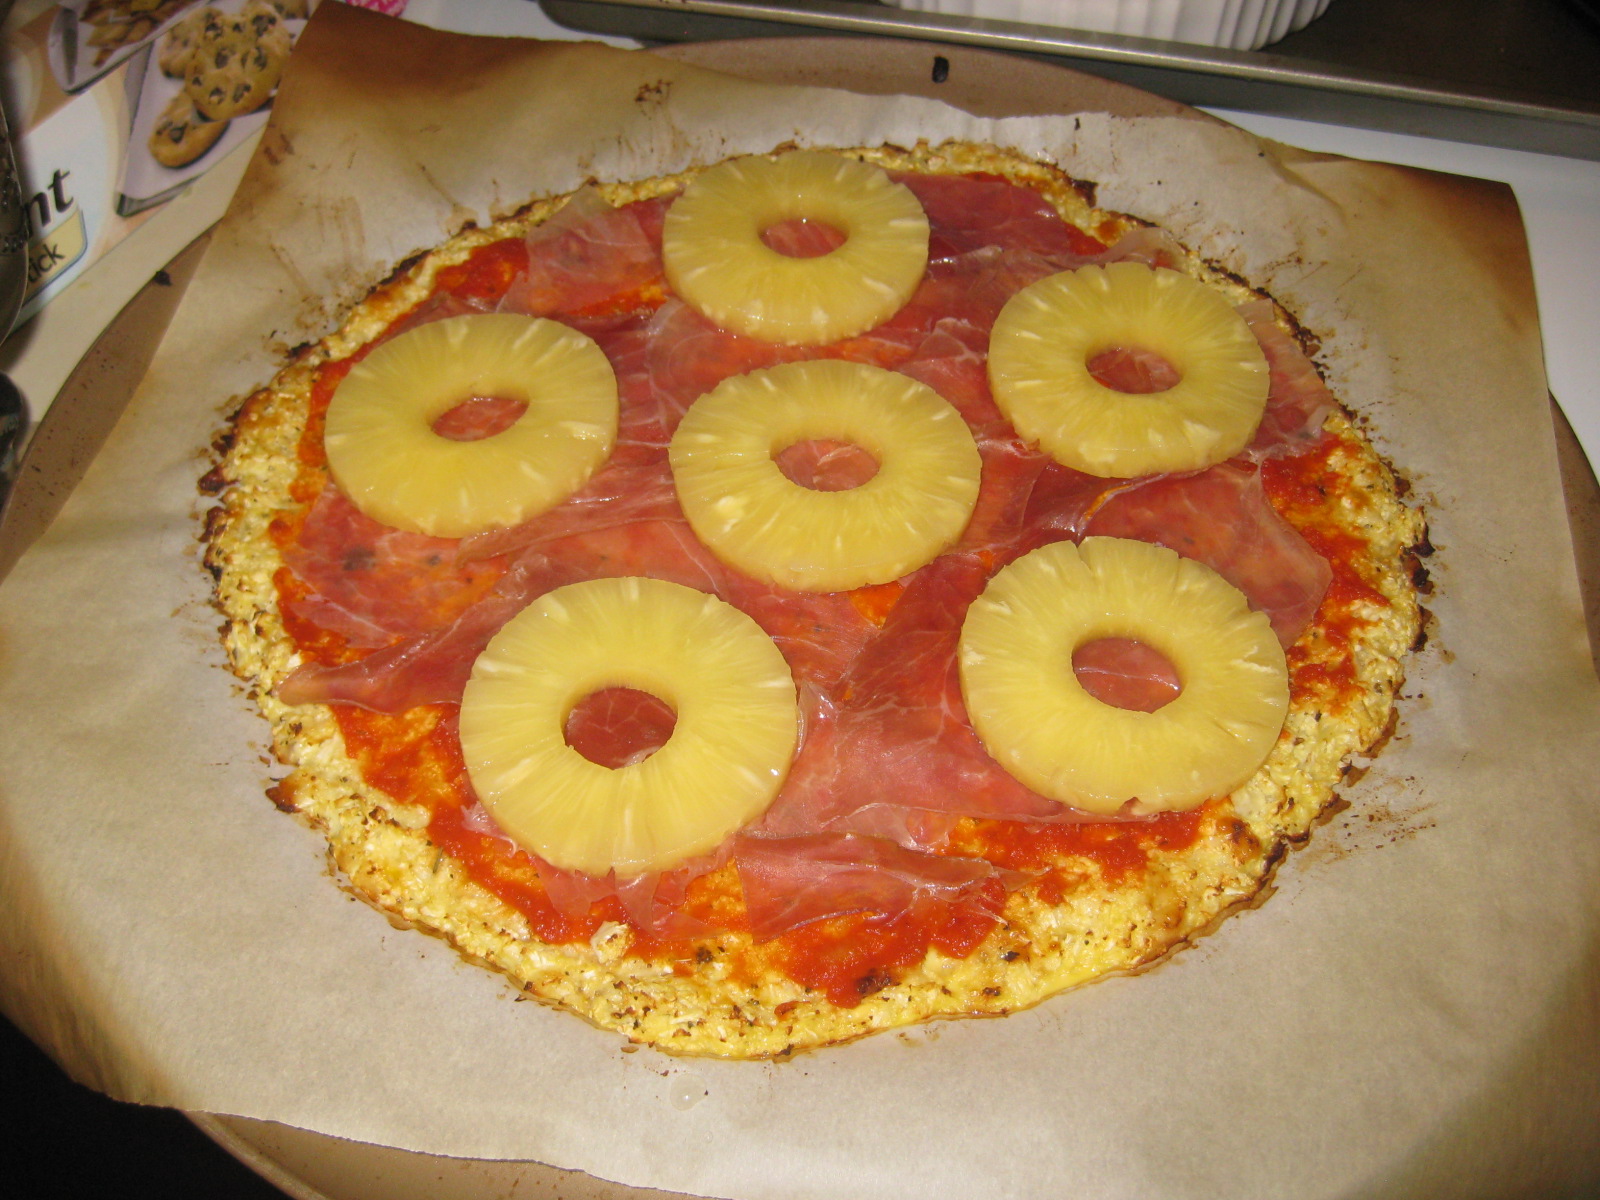
Before the cheese
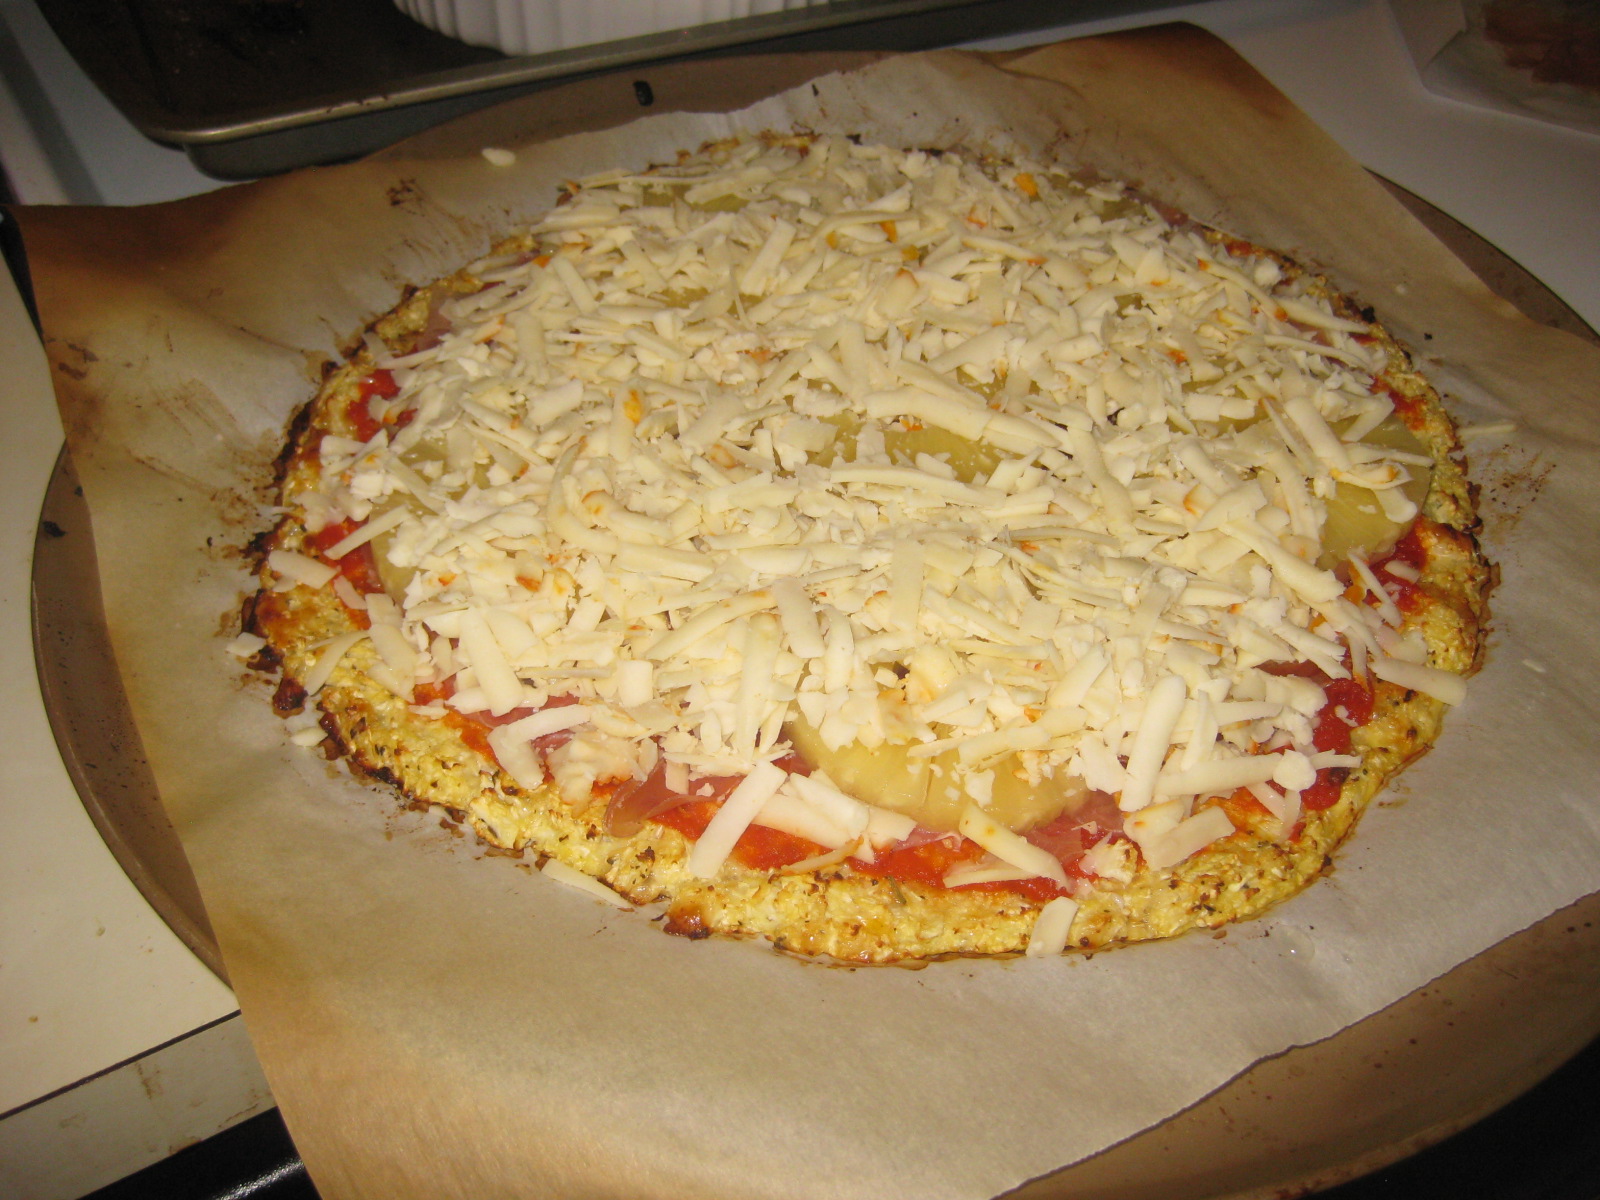
After the cheese
It turned out delicious. Both Mike, Kara and I thought that if you didn’t know it was cauliflower, you wouldn’t have been able to tell!
Happy gaming and happy pizza night!